Windows and Mac are entirely different operating systems having individual tweaks in their performance and getting used to one of them makes the other OS feel awkward.
Moreover, the price for both of them varies a lot even though there is proximity in performance for either of them. However, Windows has an easy and an open-source user interface which promotes any wired and wireless connection in a user-friendly way.
Read Also : Top 10 WiFi Range Extender To Use In 2019
On the other hand, Apple has its ecosystem, which is entirely different from Windows. It is known to work incredibly well with all the available Apple devices such as iPad, iPhone, Mac books, iPod touch, etc.
Soon after its release, the iPad has gained a lot of buzz due to various incredible features and options provided in it.
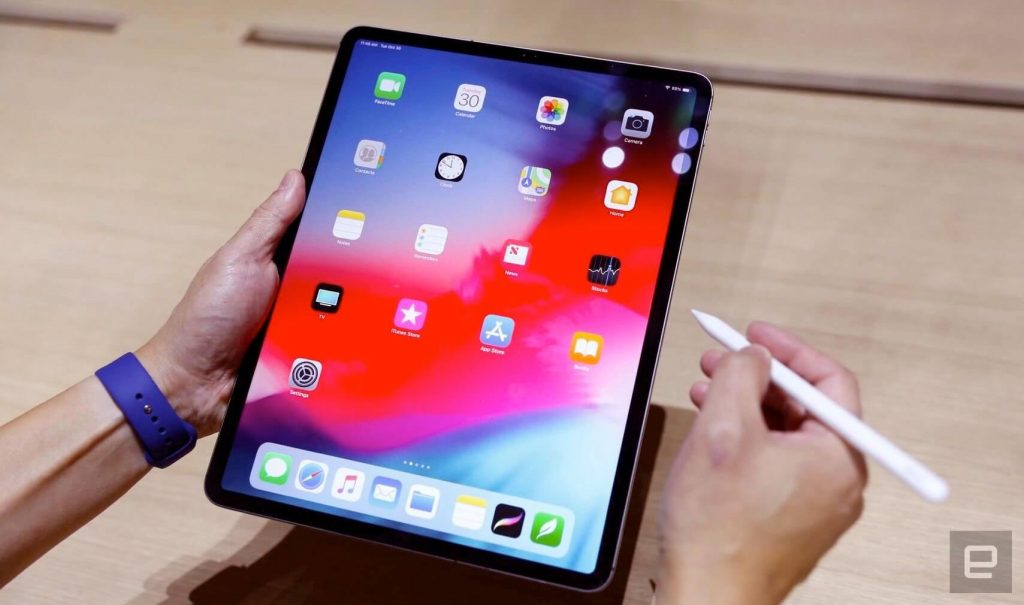
Like any other Apple devices, this also provides impeccable performance and is a proper alternative to Laptops due to a compact size, same performance as the Mac books with minimum limitations and the use of pencil simplifies many types of operations to a great extent.
However, there are many questions from the new users of iPad related to connectivity and several other aspects. Connecting to Wi-Fi is the crucial need for every iPad users as, without the internet, nothing can be done nowadays.
1. Way to connect iPad to WiFi (Routers)

Like any other devices, iPad can also be connected to Wireless networks by selecting the available systems and then entering the network encryption key, but there are some additional settings too.
Requirements for connecting to Router WiFi
- A Router with the internet connection.
- SSID (Service Set Identifier).
- Encryption key
- Type of security key whether it is WPA or WEP and WEP can be used as an alternative of the other if the device is unable to accept the WPA mode.
How to obtain this information?
- The information of the encryption key, as well as SSID, is usually displayed on the back of the router.
- Most routers are configured to WPA by default which can also be changed to WEP if your iPad can’t accept the WPA mode.
- An in-home agent can be accessed on a PC which is already connected to the router either with wired or else with wireless connectivity procedure.
- Go to the Networking tab readily available in it and select “Retrieve SSID and WEP/WPA key.
- Login to the router with the required details asked from the back of the router, and you will be connected to the WiFi.
- Later the password which is set in the computer that may either be default one or the changed can be fed to the iPad to connect with the WiFi.
These instructions can vary with some companies of routers, but most of them follow this standard procedure to get connected to a Wi-Fi connection.
Steps to be followed to connect an iPad to the Wi-Fi Router
If you are using a new router with the default passwords, then above mentioned instructions must be followed to get access to the internet in iPad or else devices with WEP accepting devices can’t be connected. However, after the above procedure is completed in the PC, these steps can be followed to connect the iPad.
Read Also : Top 10 Best Ways to Boost Your Home WiFi
- Open the iPad and click on the settings icon in it.
- Tap on WiFi option available in it.
- Switch on the WiFi button.
- The network list with all the available networks is displayed from which you should choose the name of your router.
- Enter the encryption key on the next displayed dialog box.
- Tap join to get connected to the WiFi and access the internet.
- Due to the advanced ecosystem in Apple devices, you can join the networks with which your devices, like iPhones, iPads, etc., are already connected previously.
- If it detects an unrecognized network, then it will ask for attempting to join those networks.
- Return to the home page of your iPad and use the internet flawlessly without any inconvenience.
2. Way to connect iPad to WiFi from Hotspot of any other devices

Apple’s continuity feature, which is advanced connectivity within its ecosystem lets you connect to the instant hotspot from iPhones.
However, the procedure for iPad is quite different than a regular Android phone and connects like a typical WiFi router using Apple ID for authentication and BT LE (Bluetooth Low Energy) for rapid connection.
Although the data transfer is faster, the connectivity is meant only for Apple devices.
Requirements for connecting to Hotspot
- Availability of BT LE (Bluetooth Low Energy) which provides instant Hotspot Broadcasts.
- iCloud Account for Apple ID authentication.
- Wi-Fi turned on.
- Bluetooth turned on both devices.
Enabling instant hotspot on iPhones
- Open the “Settings” app on your iPhone.
- Click on the personal hotspot option.
- Turn the toggle on.
- Your hotspot is enabled, and any apple devices can now be connected to it.
Steps to connect the Instant Hotspot of the iPhone with the iPad
- Confirm that both WiFi toggle as well as Bluetooth toggle is enabled in the control center.
- Open the settings application on the iPad.
- Switch on the WiFi toggle.
- Search for the option Personal Hotspot on your iPad.
- Click on it and type the name of your iPhone.
- Type the encryption code is enabled in the iPhone and click on connects to access the internet.
New iPad OS 13 features to connect with WiFi
The latest version of IOS is about to release, and the beta versions are already in use which has some advanced options with some tweaks added to it.
However, as per the recent announcements from Apple, some changes will make the connectivity even more comfortable to connect the devices to the shared data connection.
Read Also : Top 20 Parental Control Routers to Use in 2019
iPad OS 13 will also have an option to connect to the nearby personal hotspot when there isn’t any internet connection available. This is termed as “family sharing options” which can be used by following these steps
- Launch the settings app on the iPhone.
- Select the family sharing option available in it.
- Switch on the toggle.
- Click on the family member’s name and then tap the button saying “Ask for Approval”.
- Once this is done, the family member can connect to your hotspot whenever it is necessary.

