Windows and Mac are entirely different operating systems having individual tweaks in their performance and getting used to one of them makes the other OS feel awkward.

Moreover, the price for both of them varies a lot even though there is proximity in performance for either of them.  However, Windows has an easy and an open-source user interface which promotes any wired and wireless connection in a user-friendly way.

Read Also : Top 10 WiFi Range Extender To Use In 2019

On the other hand, Apple has its ecosystem, which is entirely different from Windows. It is known to work incredibly well with all the available Apple devices such as iPad, iPhone, Mac books, iPod touch, etc.

Soon after its release, the iPad has gained a lot of buzz due to various incredible features and options provided in it.

Employee-Productivity-Banner

Like any other Apple devices, this also provides impeccable performance and is a proper alternative to Laptops due to a compact size, same performance as the Mac books with minimum limitations and the use of pencil simplifies many types of operations to a great extent.

 However, there are many questions from the new users of iPad related to connectivity and several other aspects. Connecting to Wi-Fi is the crucial need for every iPad users as, without the internet, nothing can be done nowadays.

1. Way to connect iPad to WiFi (Routers)

Way to connect iPad to WiFi

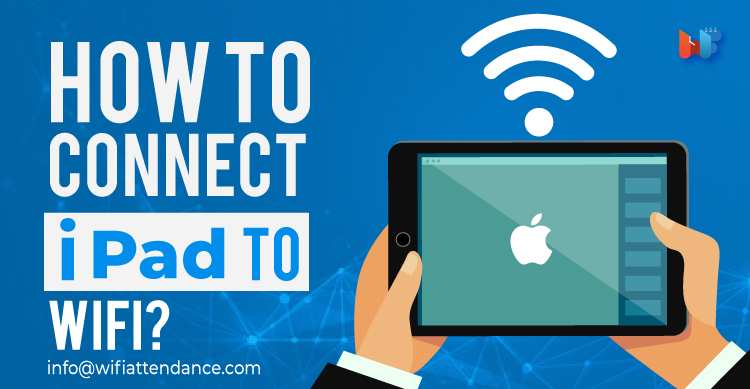
            Like any other devices, iPad can also be connected to Wireless networks by selecting the available systems and then entering the network encryption key, but there are some additional settings too.

Requirements for connecting to Router WiFi

  • A Router with the internet connection.
  • SSID (Service Set Identifier).
  • Encryption key
  • Type of security key whether it is WPA or WEP and WEP can be used as an alternative of the other if the device is unable to accept the WPA mode.

How to obtain this information?

  • The information of the encryption key, as well as SSID, is usually displayed on the back of the router.
  • Most routers are configured to WPA by default which can also be changed to WEP if your iPad can’t accept the WPA mode.
  • An in-home agent can be accessed on a PC which is already connected to the router either with wired or else with wireless connectivity procedure.
  • Go to the Networking tab readily available in it and select “Retrieve SSID and WEP/WPA key.
  • Login to the router with the required details asked from the back of the router, and you will be connected to the WiFi.
  • Later the password which is set in the computer that may either be default one or the changed can be fed to the iPad to connect with the WiFi.

These instructions can vary with some companies of routers, but most of them follow this standard procedure to get connected to a Wi-Fi connection.

Steps to be followed to connect an iPad to the Wi-Fi Router

If you are using a new router with the default passwords, then above mentioned instructions must be followed to get access to the internet in iPad or else devices with WEP accepting devices can’t be connected. However, after the above procedure is completed in the PC, these steps can be followed to connect the iPad.

Read Also : Top 10 Best Ways to Boost Your Home WiFi

  • Open the iPad and click on the settings icon in it.
  • Tap on WiFi option available in it.
  • Switch on the WiFi button.
  • The network list with all the available networks is displayed from which you should choose the name of your router.
  • Enter the encryption key on the next displayed dialog box.
  • Tap join to get connected to the WiFi and access the internet.
  • Due to the advanced ecosystem in Apple devices, you can join the networks with which your devices, like iPhones, iPads, etc., are already connected previously.
  • If it detects an unrecognized network, then it will ask for attempting to join those networks.
  • Return to the home page of your iPad and use the internet flawlessly without any inconvenience.

2. Way to connect iPad to WiFi from Hotspot of any other devices
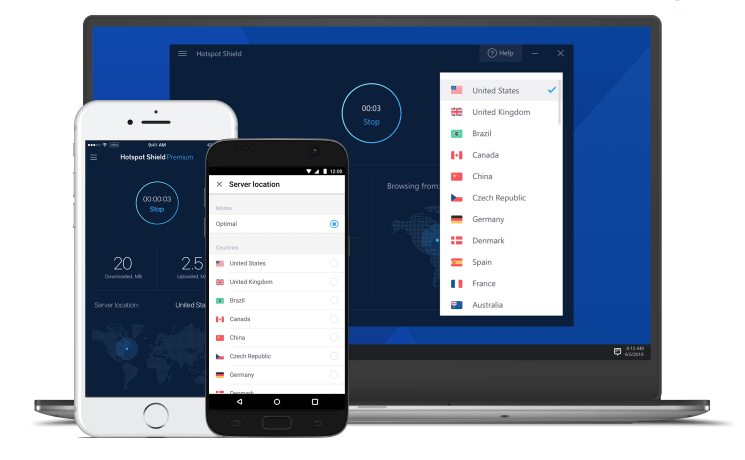
Apple’s continuity feature, which is advanced connectivity within its ecosystem lets you connect to the instant hotspot from iPhones.

However, the procedure for iPad is quite different than a regular Android phone and connects like a typical WiFi router using Apple ID for authentication and BT LE (Bluetooth Low Energy) for rapid connection.

Although the data transfer is faster, the connectivity is meant only for Apple devices.

Requirements for connecting to Hotspot

  • Availability of BT LE (Bluetooth Low Energy) which provides instant Hotspot Broadcasts.
  • iCloud Account for Apple ID authentication.
  • Wi-Fi turned on.
  • Bluetooth turned on both devices.

Enabling instant hotspot on iPhones

  • Open the “Settings” app on your iPhone.
  • Click on the personal hotspot option.
  • Turn the toggle on.
  • Your hotspot is enabled, and any apple devices can now be connected to it.

Steps to connect the Instant Hotspot of the iPhone with the iPad

  • Confirm that both WiFi toggle as well as Bluetooth toggle is enabled in the control center.
  • Open the settings application on the iPad.
  • Switch on the WiFi toggle.
  • Search for the option Personal Hotspot on your iPad.
  • Click on it and type the name of your iPhone.
  • Type the encryption code is enabled in the iPhone and click on connects to access the internet.

New iPad OS 13 features to connect with WiFi

The latest version of IOS is about to release, and the beta versions are already in use which has some advanced options with some tweaks added to it.

However, as per the recent announcements from Apple, some changes will make the connectivity even more comfortable to connect the devices to the shared data connection.

Read Also : Top 20 Parental Control Routers to Use in 2019

iPad OS 13 will also have an option to connect to the nearby personal hotspot when there isn’t any internet connection available. This is termed as “family sharing options” which can be used by following these steps

  • Launch the settings app on the iPhone.
  • Select the family sharing option available in it.
  • Switch on the toggle.
  • Click on the family member’s name and then tap the button saying “Ask for Approval”.
  • Once this is done, the family member can connect to your hotspot whenever it is necessary.
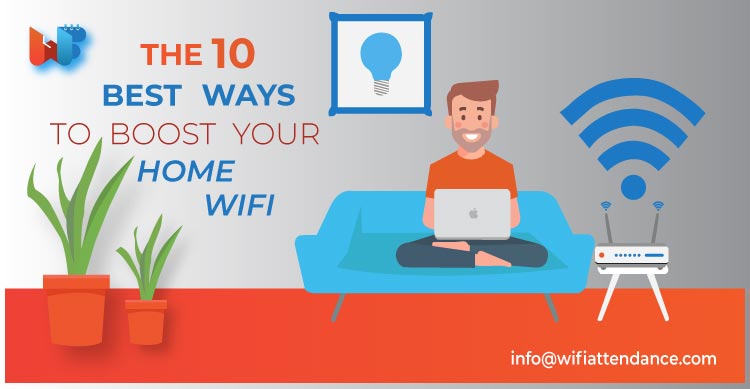
No one believes in sitting at one single place to connect with the world. Which is why most homes have WiFi network installed these days. But the same WiFi connectivity can become a frustrating struggle if you find yourself struggling with bad reception, slow speeds and/or any other problem.

Read Also: How to Set Up WiFi at Home : 5 Easy Steps

To boost your home WiFi, this article presents 10 great ways.

1. Get a new WiFi adapter to attach to your old laptop

You can invest in a WiFi adapter and use it to boost the connectivity when using an old laptop. Such an adapter will come with 802.11ac technology. You can plug the adapter in one of the USB ports available in your laptop.

Anayse productivity with wifi attendance ad banner

They might look bulky, but definitely increase the speed of wireless network you receive from your router. However, it is important that you choose a high-quality adapter with good AC capabilities.

For instance, AC1200 is considered the minimum required level. Anything below this won’t provide the speed you are looking for.

2. Invest in a router of 802.11ac category

An 802.11ac is also known as an AC category router in the market. If you have a router which belongs to N or G category, you definitely need an upgrade.

These categories are considered cheap as they don’t have the capacity to transfer the high-quality speed of the network to the connected devices. Your network gets faster and delivers maximum connectivity when you have an AC category router.

Of course, you will feel confused when purchasing a new router. Which is why you need to understand the basics in advance before making a decision.

Most of your home devices such as laptops, tablets, smartphones, and others consist of AC wireless technology. So, you can feel free to pick a router in the category of 802.11ac.

All the future devices in the upcoming years will include the AC wireless tech only. So, switching your router would be a wise move.

When you get a new router, you get firmware updates that protect against various security issues. These security features are not upgraded usually in N or G types of routers.

The strength of the performance in 802.11ac comes in the form of its range and speed. You can get dual-band or even a tri-band router to get better device connection management. So, all devices get the best speeds.

3. Consider a system of WiFi mesh

If your WiFi performance is not reaching every corner of your big home, you can think about several solutions. First of all, you can try to include different access points in your home to cover area corner with wireless network.

You can use a WiFi extender to enhance the signal in certain areas. Find places where you can use Ethernet cables to create wired connections.

Beyond all that, very big homes can also consider using the system of WiFi mesh. This will be a one-step solution for all the WiFi performance issues you find in some areas of your home.

Mesh systems are designed for easy installation and provide controllability using a specific mobile application. They surely use some speed, but provide better performance by enhancing the range and the quality of connections. This way, you can sit anywhere in your big house and still get the best possible speeds.

4. Keep your router in an open area

No one feels thrilled about the design of a router. Which is why people usually put in a cupboard or hidden behind the curtains. But the placement of the router also decides the signal performance you receive.

So, a router in your TV cabinet might not send proper signals in every part of your home. The best location for a router is out in an open area. The area should be a flat surface such as a table.

Moreover, you can try to get it installed on a wall. There are router mounting brackets available in the market, which you can use to fulfill this purpose. If possible, try to place the two antennas perpendicular to each other.

5. Select a central area for router placement

You should also carefully choose a central area in your home to place the router. This will ensure complete coverage of the whole house. The signal comes out from the antennas of a router.

Then, it extends in all directions. So, if you place your router in one corner, you will be wasting one aspect of signal that comes out of it.

Read Also: How to Fix the Most Common WiFi Issues?

Mostly, people feel restricted to place a router in a corner due to the short-length of cables. But the problem is resolvable with Ethernet cables. You can ensure the central location of Wi-Fi with Ethernet cables.

You will need professionals’ help to have these cables in your behind the walls or above the ceiling. If not, you can also use cable clips to attach these cables to the walls.

6. Find a suitable wireless channel

If other families also use WiFi in your neighborhood, their access points and routers can interfere with yours. This can degrade the quality of signals.

The good news is that a wireless network can easily operate via different channels. You simply need to pick a channel that has the least possible interference.

Generally, your router knows the right channel and pick automatically. But you should take a look to ensure if it is causing the network issues. There are tools that help you analyze your Wi-Fi, which you can find online.

7. Secure your wireless network from hackers

WiFi security holds great importance to keep your wireless network performance top-notch. If hackers get a chance, they use your network and reduce the quality of internet speed you receive.

The most important part of securing your WiFi network is keeping the firmware updated. Your router comes with firmware security features. It is important that you keep it updated with the new features provided by the manufacturers.

To create WiFi passwords, you should utilize WPA2 encryption, as it is the latest technology. At the same time, you can’t keep using the default password and username. It is too obvious to guess and opens your network for hackers. You should customize the login details and keep it secure.

Whenever you are not using the connection, use the physical switch off button on the router to turn it off. Switch it on with your fingers to start the WPS for configuration. Also, if there are remote management features available in your router, disable them whenever not required.

8. Use simple tricks to increase WiFi range

The range of a wireless network is the area it covers when sending the signal. You can increase its capacity by some simple tricks. For this, you will need an old can of beer.

Carefully cut out the top part of the can to make it look like a glass. Then, you need to make a hole in the center of the bottom of the can. Make sure this hole is sharp and wide enough to go inside your router’s antenna.

Now, you need to cut the beer can vertically once, and cut from the circumference of the bottom, leaving a little portion attached to the bottom part.

Use your hands to open the can to shape it like a curved antenna. Then, put it on the antennas by crossing it through the bottom hole. This will give a boost to your wireless network range.

9. Invest in a WiFi extender

If you want some serious improvement in the wireless range department, an extender would be a wise move. The Wi-Fi extenders are also known as boosters and repeaters.

They catch the signal coming from the main router and redistribute with higher quality. The amplification of the signal improves the range of a wireless network in your home.

You can easily install an extender in the area where the signal is weak. The process of installation doesn’t take more than several minutes.

Modern-age extenders allow you to control them using online or mobile phone applications. You can also adjust the Wi-Fi settings with them according to your preference. This increases the performance and experience of using WiFi routers at home.

10. Take your router to new access points

Good quality routers allow you to quickly and easily change their location to new access points. The process of hardware disabling takes seconds, so you can decide the location with respect to different access points.

You can do this manually and allow all kinds of equipment, old or new, to receive the best connection performance.

Read Also: 6 Easy Steps to Set WiFi Password

Along with all the mentioned ways, you can also think about getting stronger antennas for your router. Also, try to manage some applications on your device that take a lot of bandwidth.

And if you find yourself struggling with a low-quality wireless network speed or range, reboot the router. This process will start the router again and might bring back the regular strength in the wireless network.

Hopefully, these tips will help you!

It is hard to think back to a time when internet was accessed through PCs wired into bulky modems and telephones. Today internet is accessed wirelessly everywhere from our homes to offices.

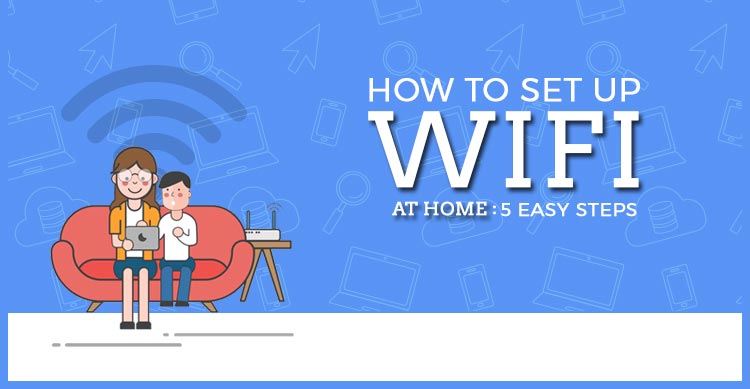
If you shift house or need to reset your home WiFi network for any reason you will have to set up the network yourself. This post is a simple step by step guide to setup WiFi at home.

wifi attendance

1. Get Subscription from ISP

The first step is to get internet package subscription from your local Internet Service Provider or ISP. This will vary from country to country and you will have to check the available ISP in your area. For example AT&T and Comcast are ISPs popular in USA.

2. Get a Router and note the SSID and Password

Next you will need a router that will convert internet data received into radio waves. A router is nothing but a device that converts digital signal into radio waves and broadcasts in your home.

Dlink  or TP-Link are some of the companies that sell routers. Each router will also have a SSID number and a password mentioned at on sticker on the back.

Note this as you will need it in later stage. If the SSID is not given on the device it will be mentioned in the used manual that comes with router.

attendance app

3. Connect to Modem

Today routers perform the function of modem too and work as a WiFi gateway.

For your practical purpose you have to now connect your router to the dial-up connection/ DSL/ cable modem provided by your ISP.

An Ethernet port cable provided by your ISP (or connected to Ethernet port in your apartment rooms) needs to be plugged into the router.

Look for a Ethernet port behind your router with a WiFi icon mentioned next to it and plug in the cable. Connect your router to a power point and switch it on.

4. Set Up the Home Wifi Network

Next you need to set up your WiFi in your internet browser.  Remember you have to connect to your WIFi which will show with the name of SSID mentioned behind the router.

Open the browser and type in the IP address depending on your router. For example Belkin users must type in http://192.168.0.1. and Linksys users have to type in http://192.168.1.1. in their browser. You can find this IP address in the router manual or on Google too.

This will open the settings for your WiFi network. Enter the SSID and password noted in step 2 and select manual setup. You can now rename your WiFi and reset the password. Select WPA or WPA2 as your security option.

Your WiFi is now ready to connect

5. Connect and Enjoy!

To connect your devices, switch on WiFI in network and connections and connect to the WIFi you have just setup. It will show up with the SSID name you have given while setting up. Enter the WiFi password in the prompt and you are good to go!

Since your router sends out signal in vicinity, it is possible for hackers to intercept your data or use your WiFi signals without permission. To avoid this make sure your password is unique and WiFi security is set to WPA or WPA2.


Also Read : How to Fix the Most Common WiFi Issues?